AStudio Quick Start
Source: Official AStudio documentation · Checked: 2026-10-27. Product behavior and availability may change; consult the current official page.
Install and sign in
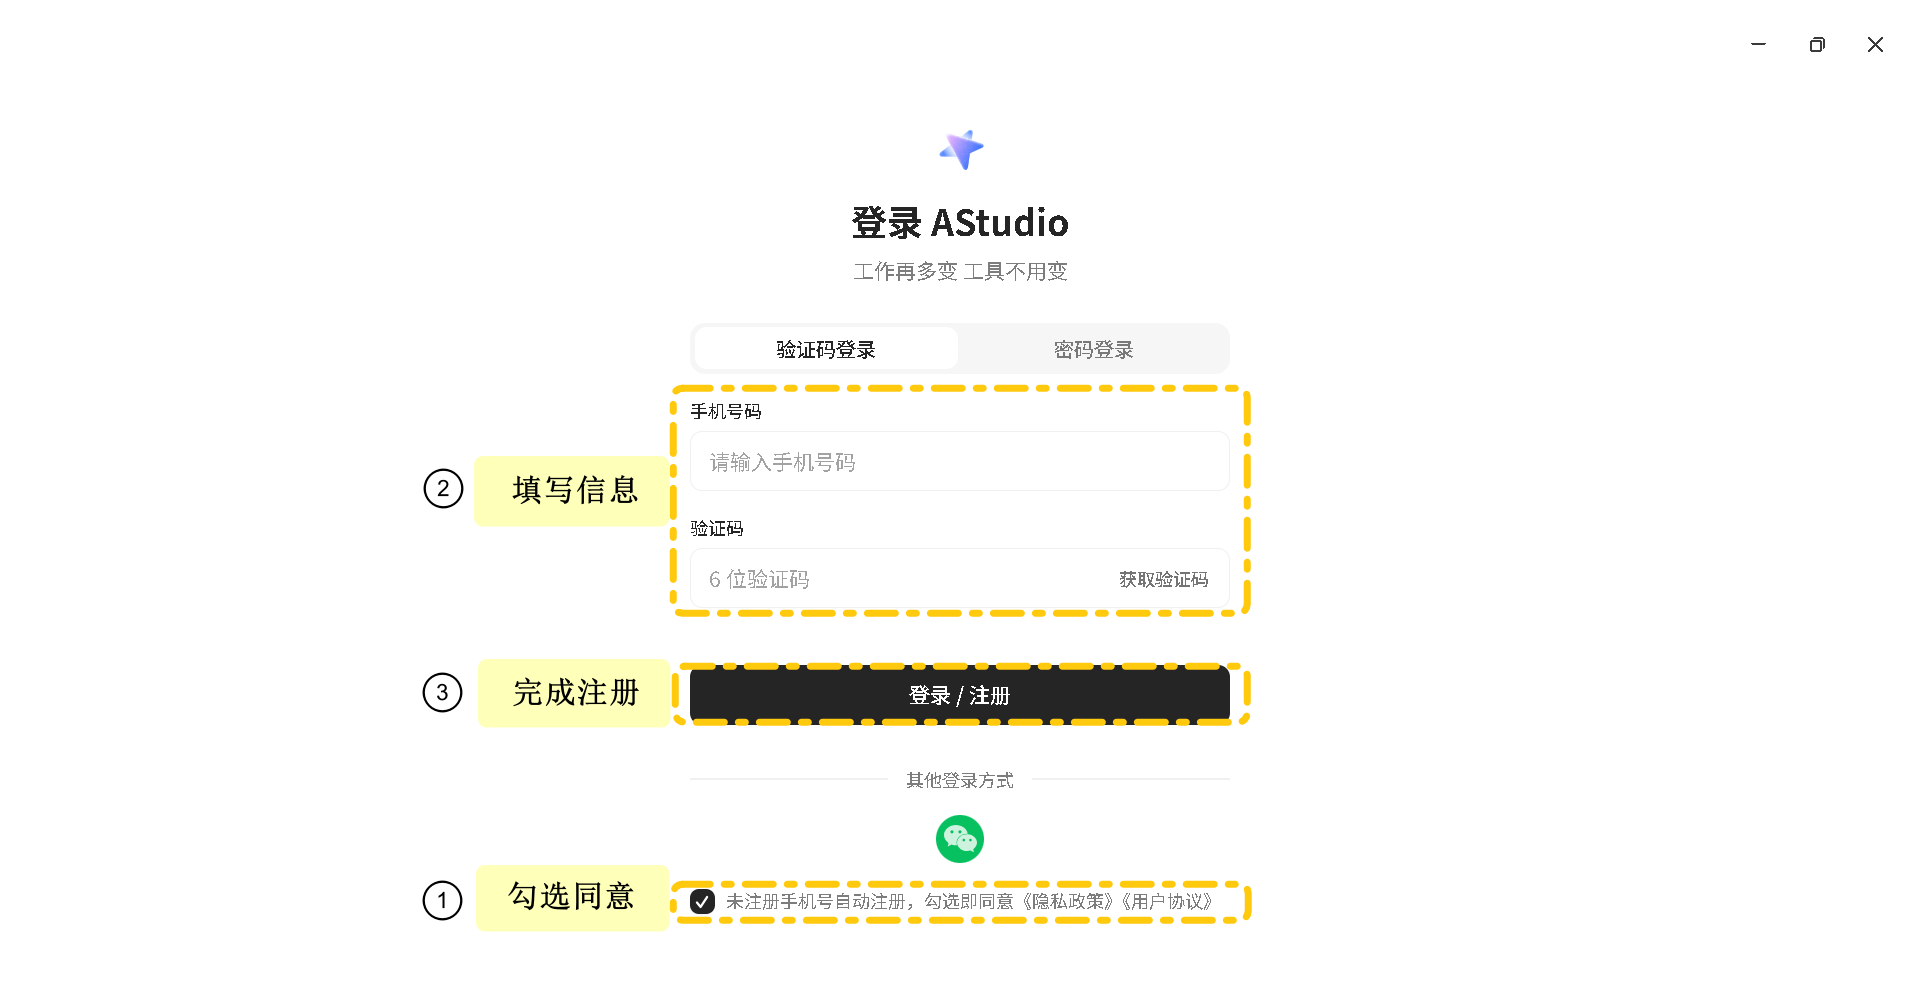
Use the download entry on the official quick-start page. Supported environments listed there are Apple silicon Macs and 64-bit Windows 10 / 11. Install the client and sign in.
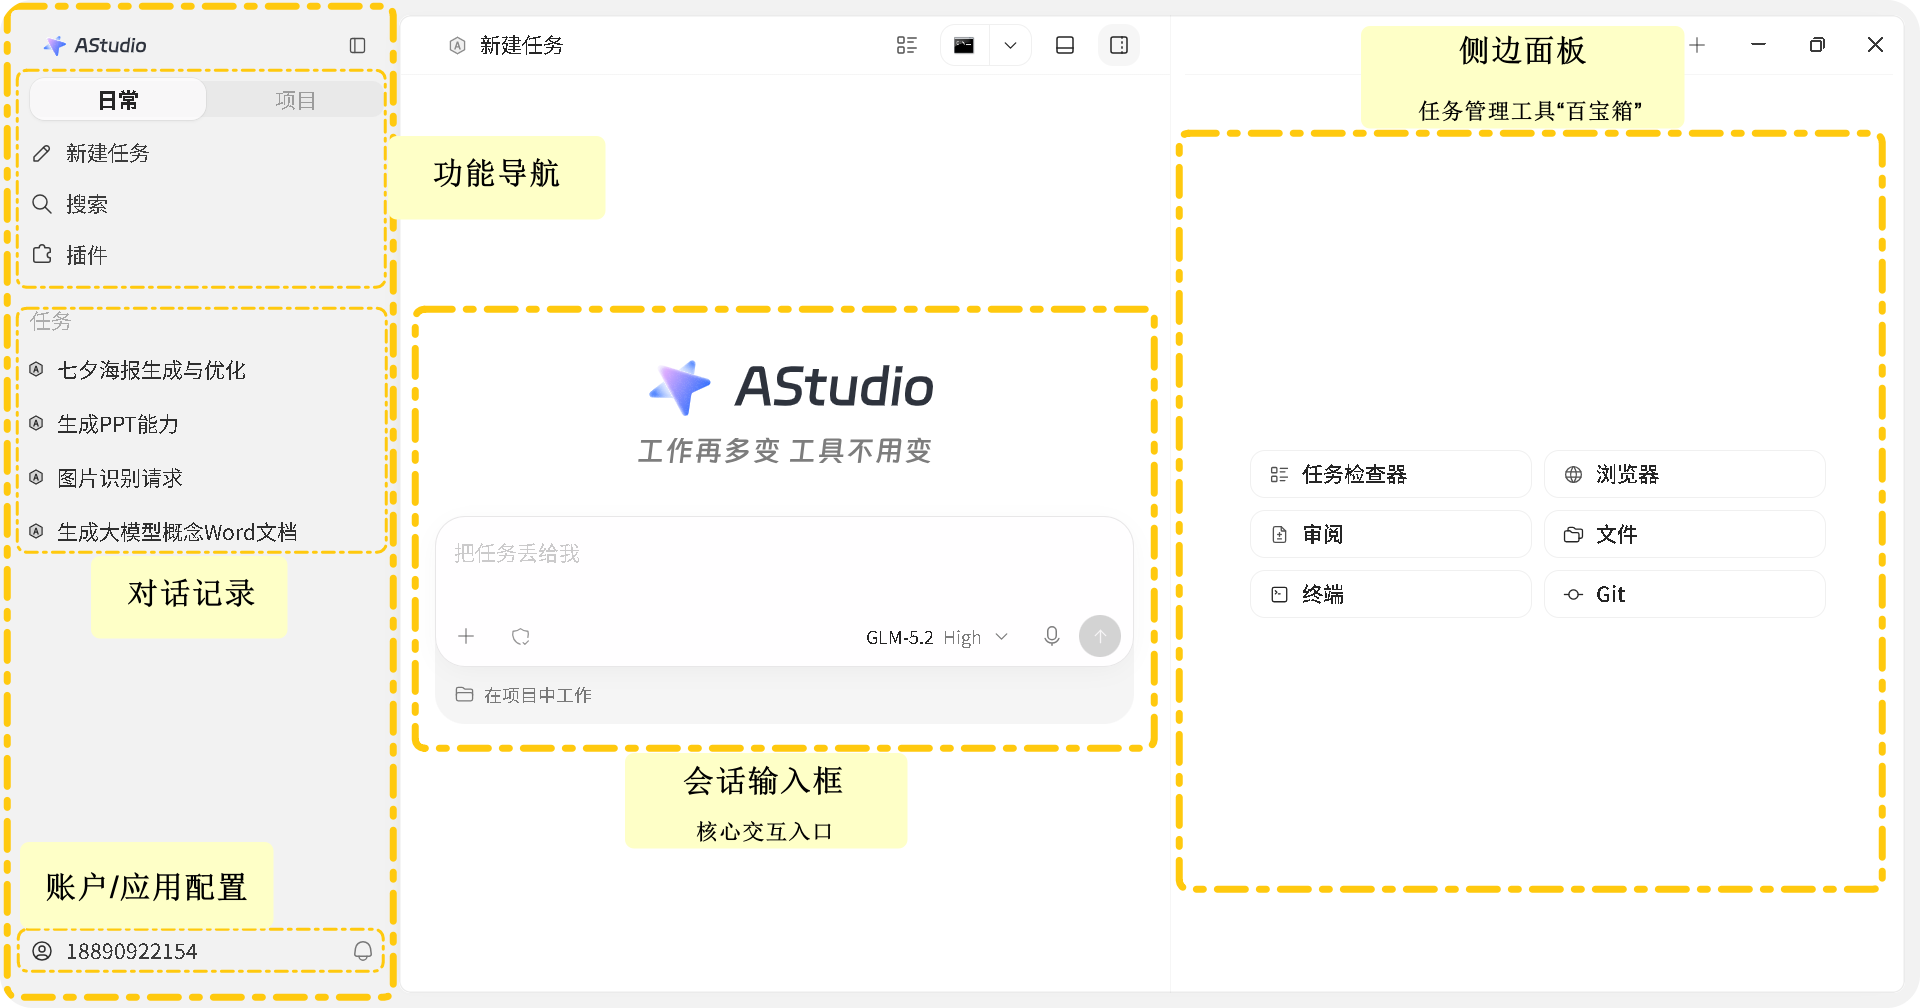
The screenshots below come from the official Chinese interface. English captions explain each step; click an image to enlarge it.
Complete your first task
- Select Daily in the left navigation and create a task.
- Describe the desired result in the center. Attach or drag in reference files.
- Send the request and inspect the result in the right panel.
- Request specific changes and check the final output.
Practice with your own meeting notes: “Create an action list with owners, deadlines and unresolved questions.”
Find your way around
The left panel manages tasks, projects and settings; the center contains conversation and execution; the right panel previews files, websites, changes and the terminal. Continue to projects and task modes for ongoing folder-based work. See plans for point validity.